安裝 ASP.NET Core 和 TypeScript
首先,如果您需要,請安裝 ASP.NET Core。此快速入門指南需要 Visual Studio 2015 或 2017。
接下來,如果您的 Visual Studio 版本尚未安裝最新的 TypeScript,您可以 安裝它。
建立新專案
- 選擇檔案
- 選擇新專案 (Ctrl + Shift + N)
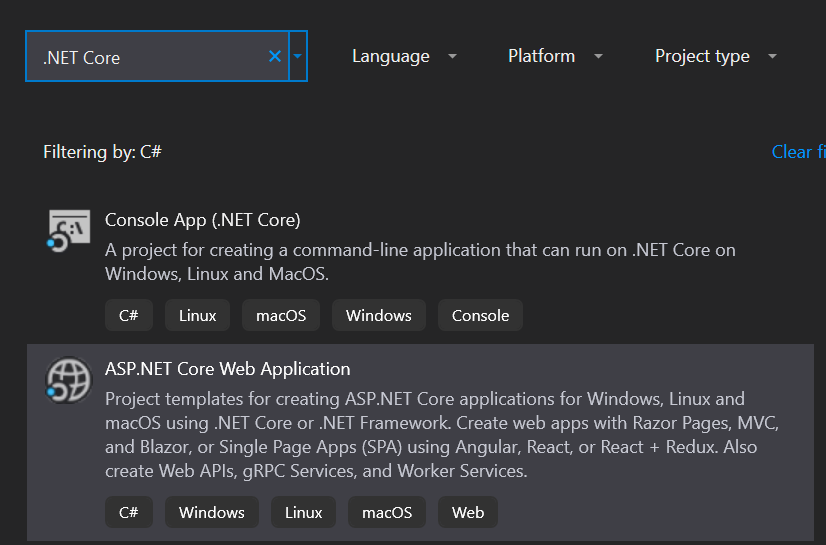
- 在專案搜尋欄位中搜尋.NET Core
- 選取ASP.NET Core 網頁應用程式並按下下一步按鈕
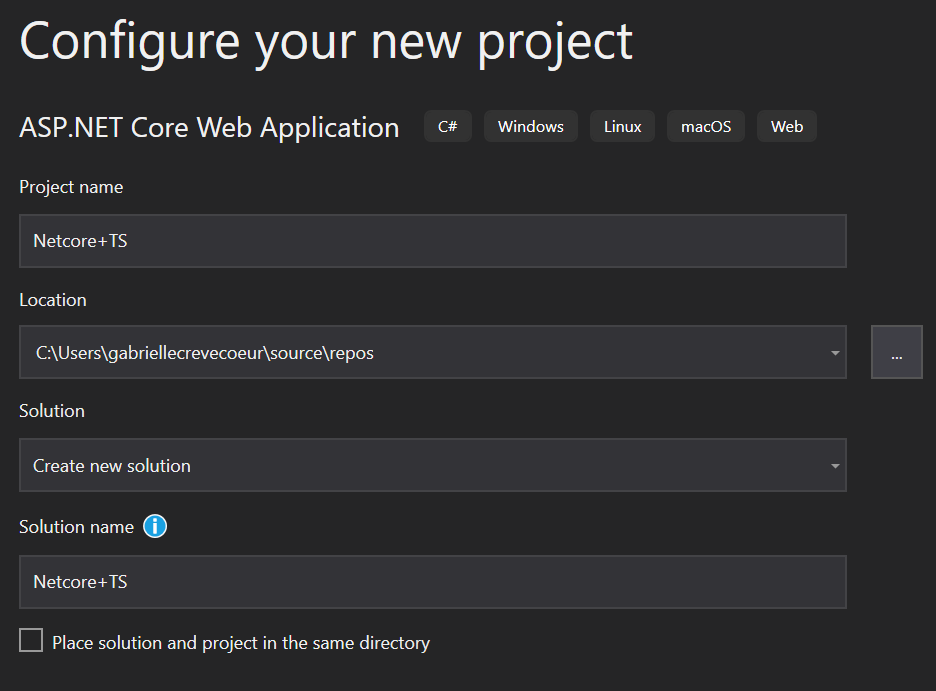
- 命名您的專案和方案。在選取建立按鈕後
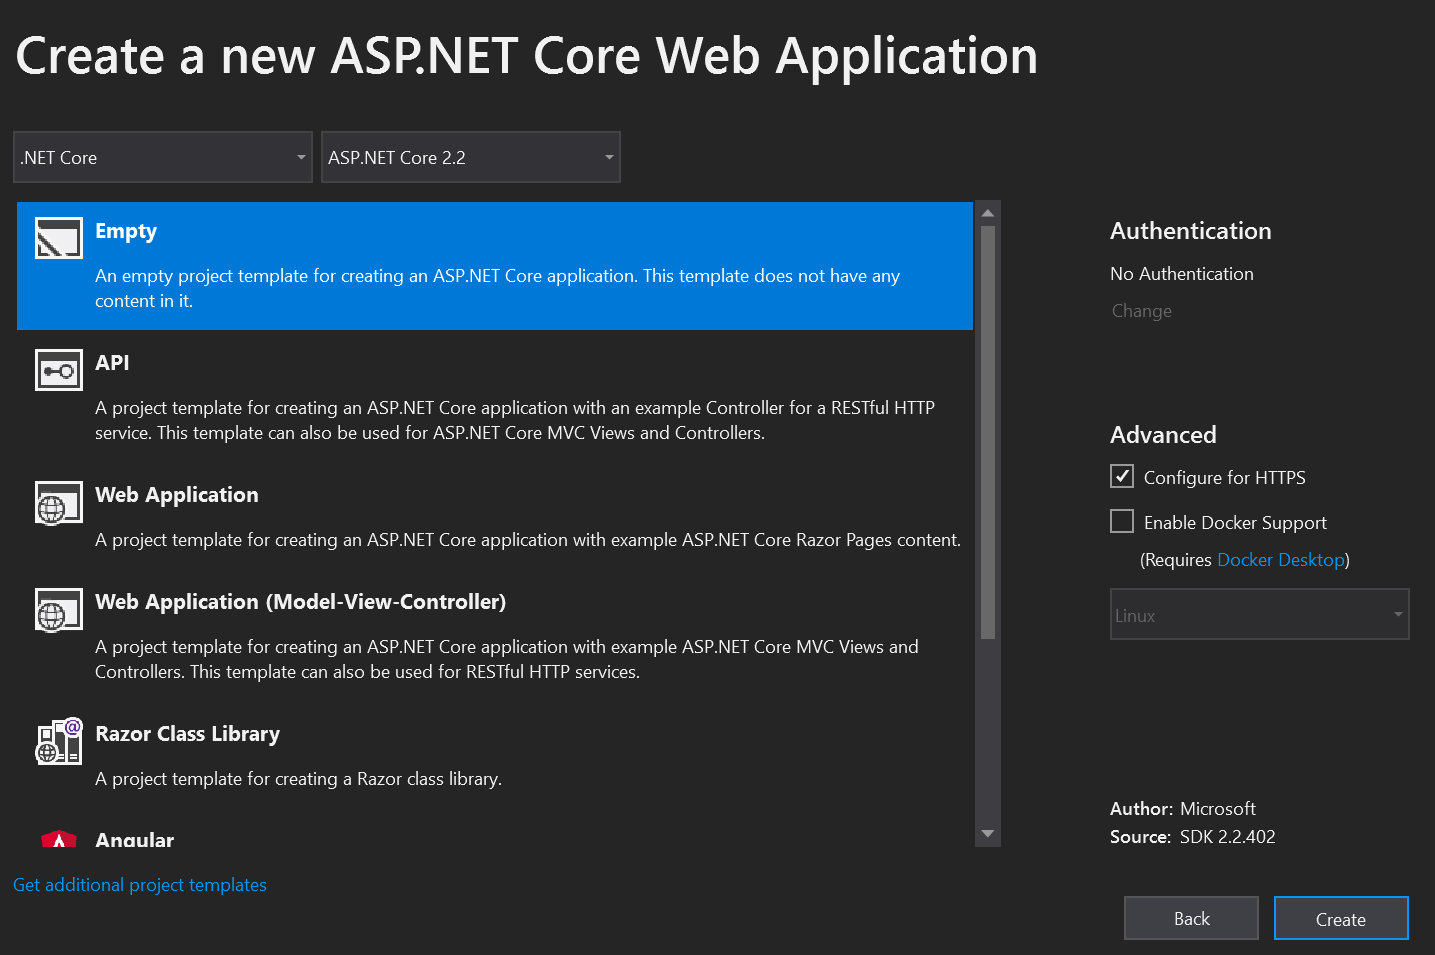
- 在最後一個視窗中,選取空白範本並按下建立按鈕
執行應用程式,並確定其運作正常。

設定伺服器
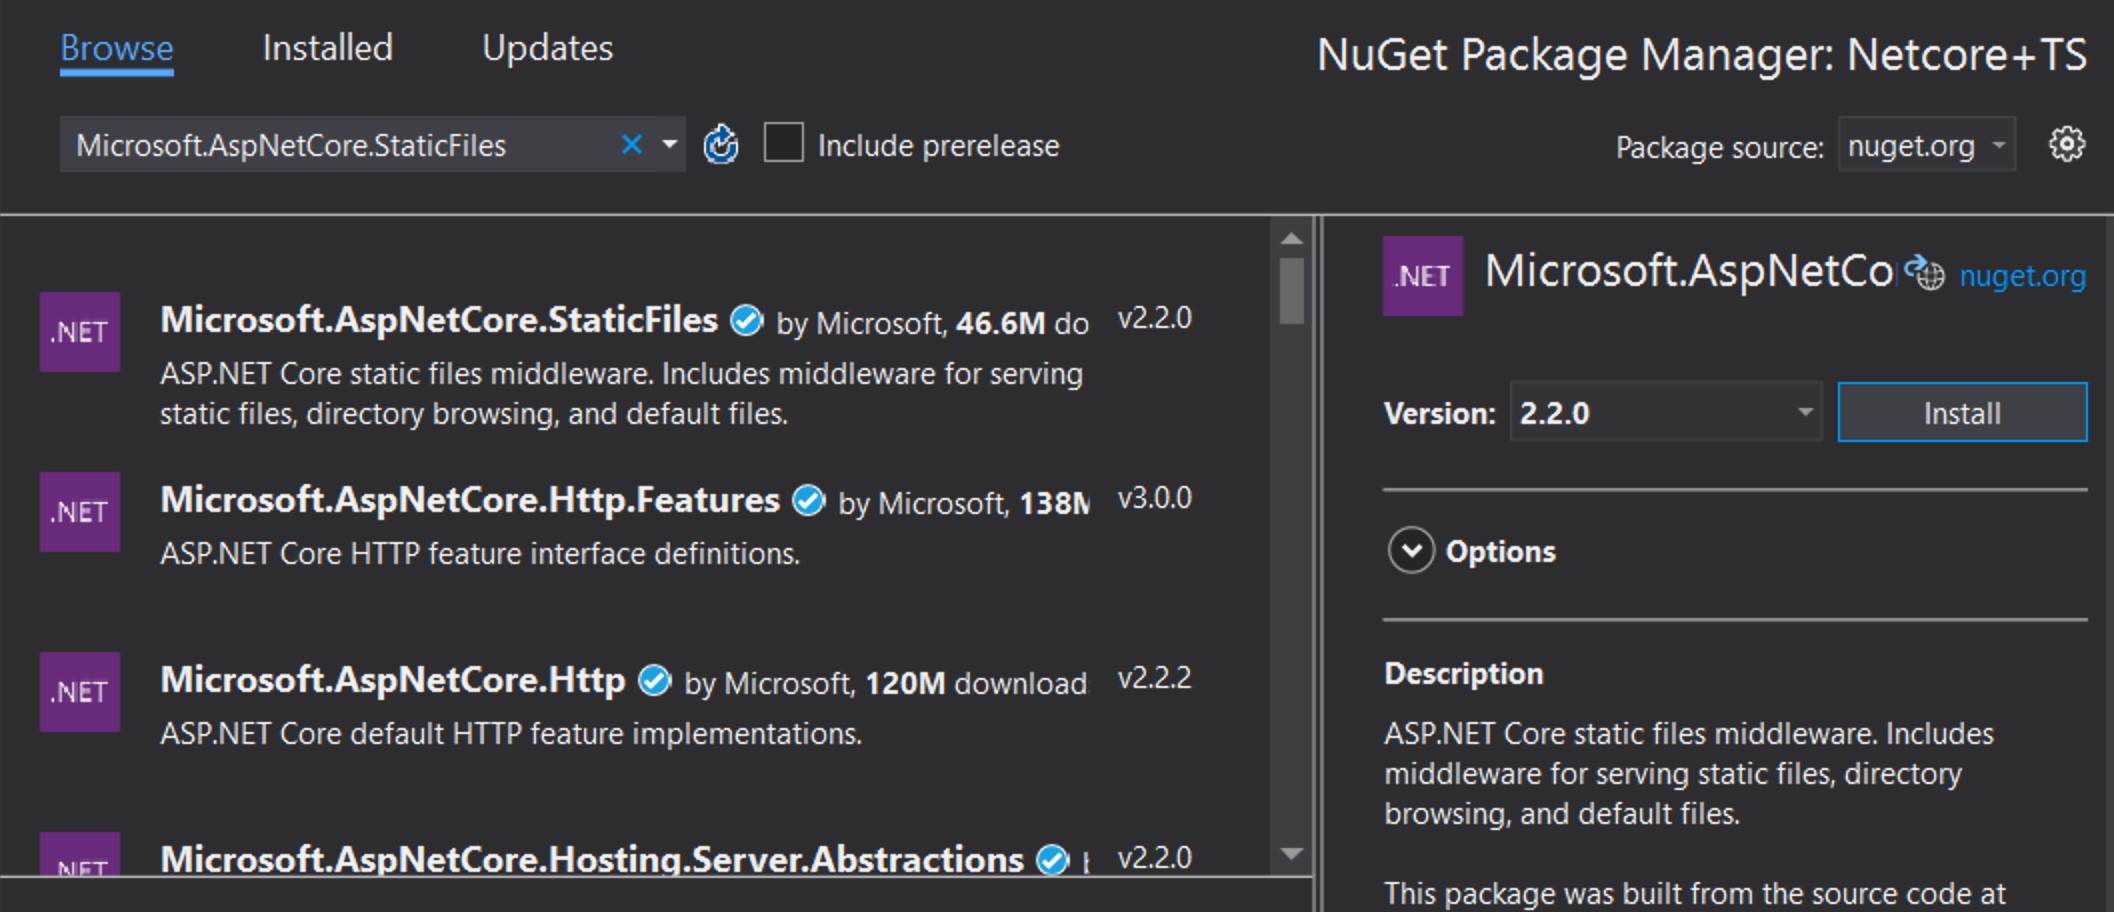
開啟相依性 > 管理 NuGet 套件 > 瀏覽。搜尋並安裝 Microsoft.AspNetCore.StaticFiles 和 Microsoft.TypeScript.MSBuild
開啟您的 Startup.cs 檔案,並編輯您的 Configure 函式,使其看起來像這樣
public void Configure(IApplicationBuilder app, IHostEnvironment env)
{
    if (env.IsDevelopment())
    {
        app.UseDeveloperExceptionPage();
    }

    app.UseDefaultFiles();
    app.UseStaticFiles();
}
您可能需要重新啟動 VS,讓 UseDefaultFiles 和 UseStaticFiles 下方的紅色波浪線消失。
新增 TypeScript
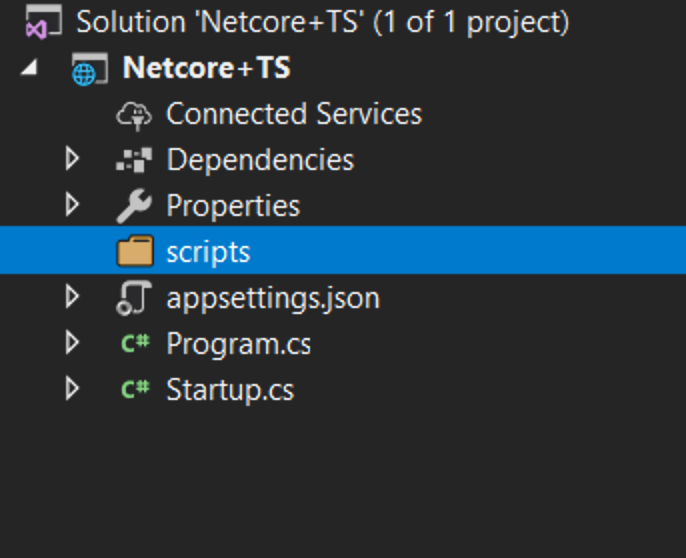
接下來,我們將新增一個資料夾,並將其命名為 scripts。

新增 TypeScript 程式碼
在 scripts 上按一下右鍵,然後按一下新增項目。接著選擇TypeScript 檔案,並將檔案命名為 app.ts

新增範例程式碼
將以下程式碼加入 app.ts 檔案。
ts
設定組建
設定 TypeScript 編譯器
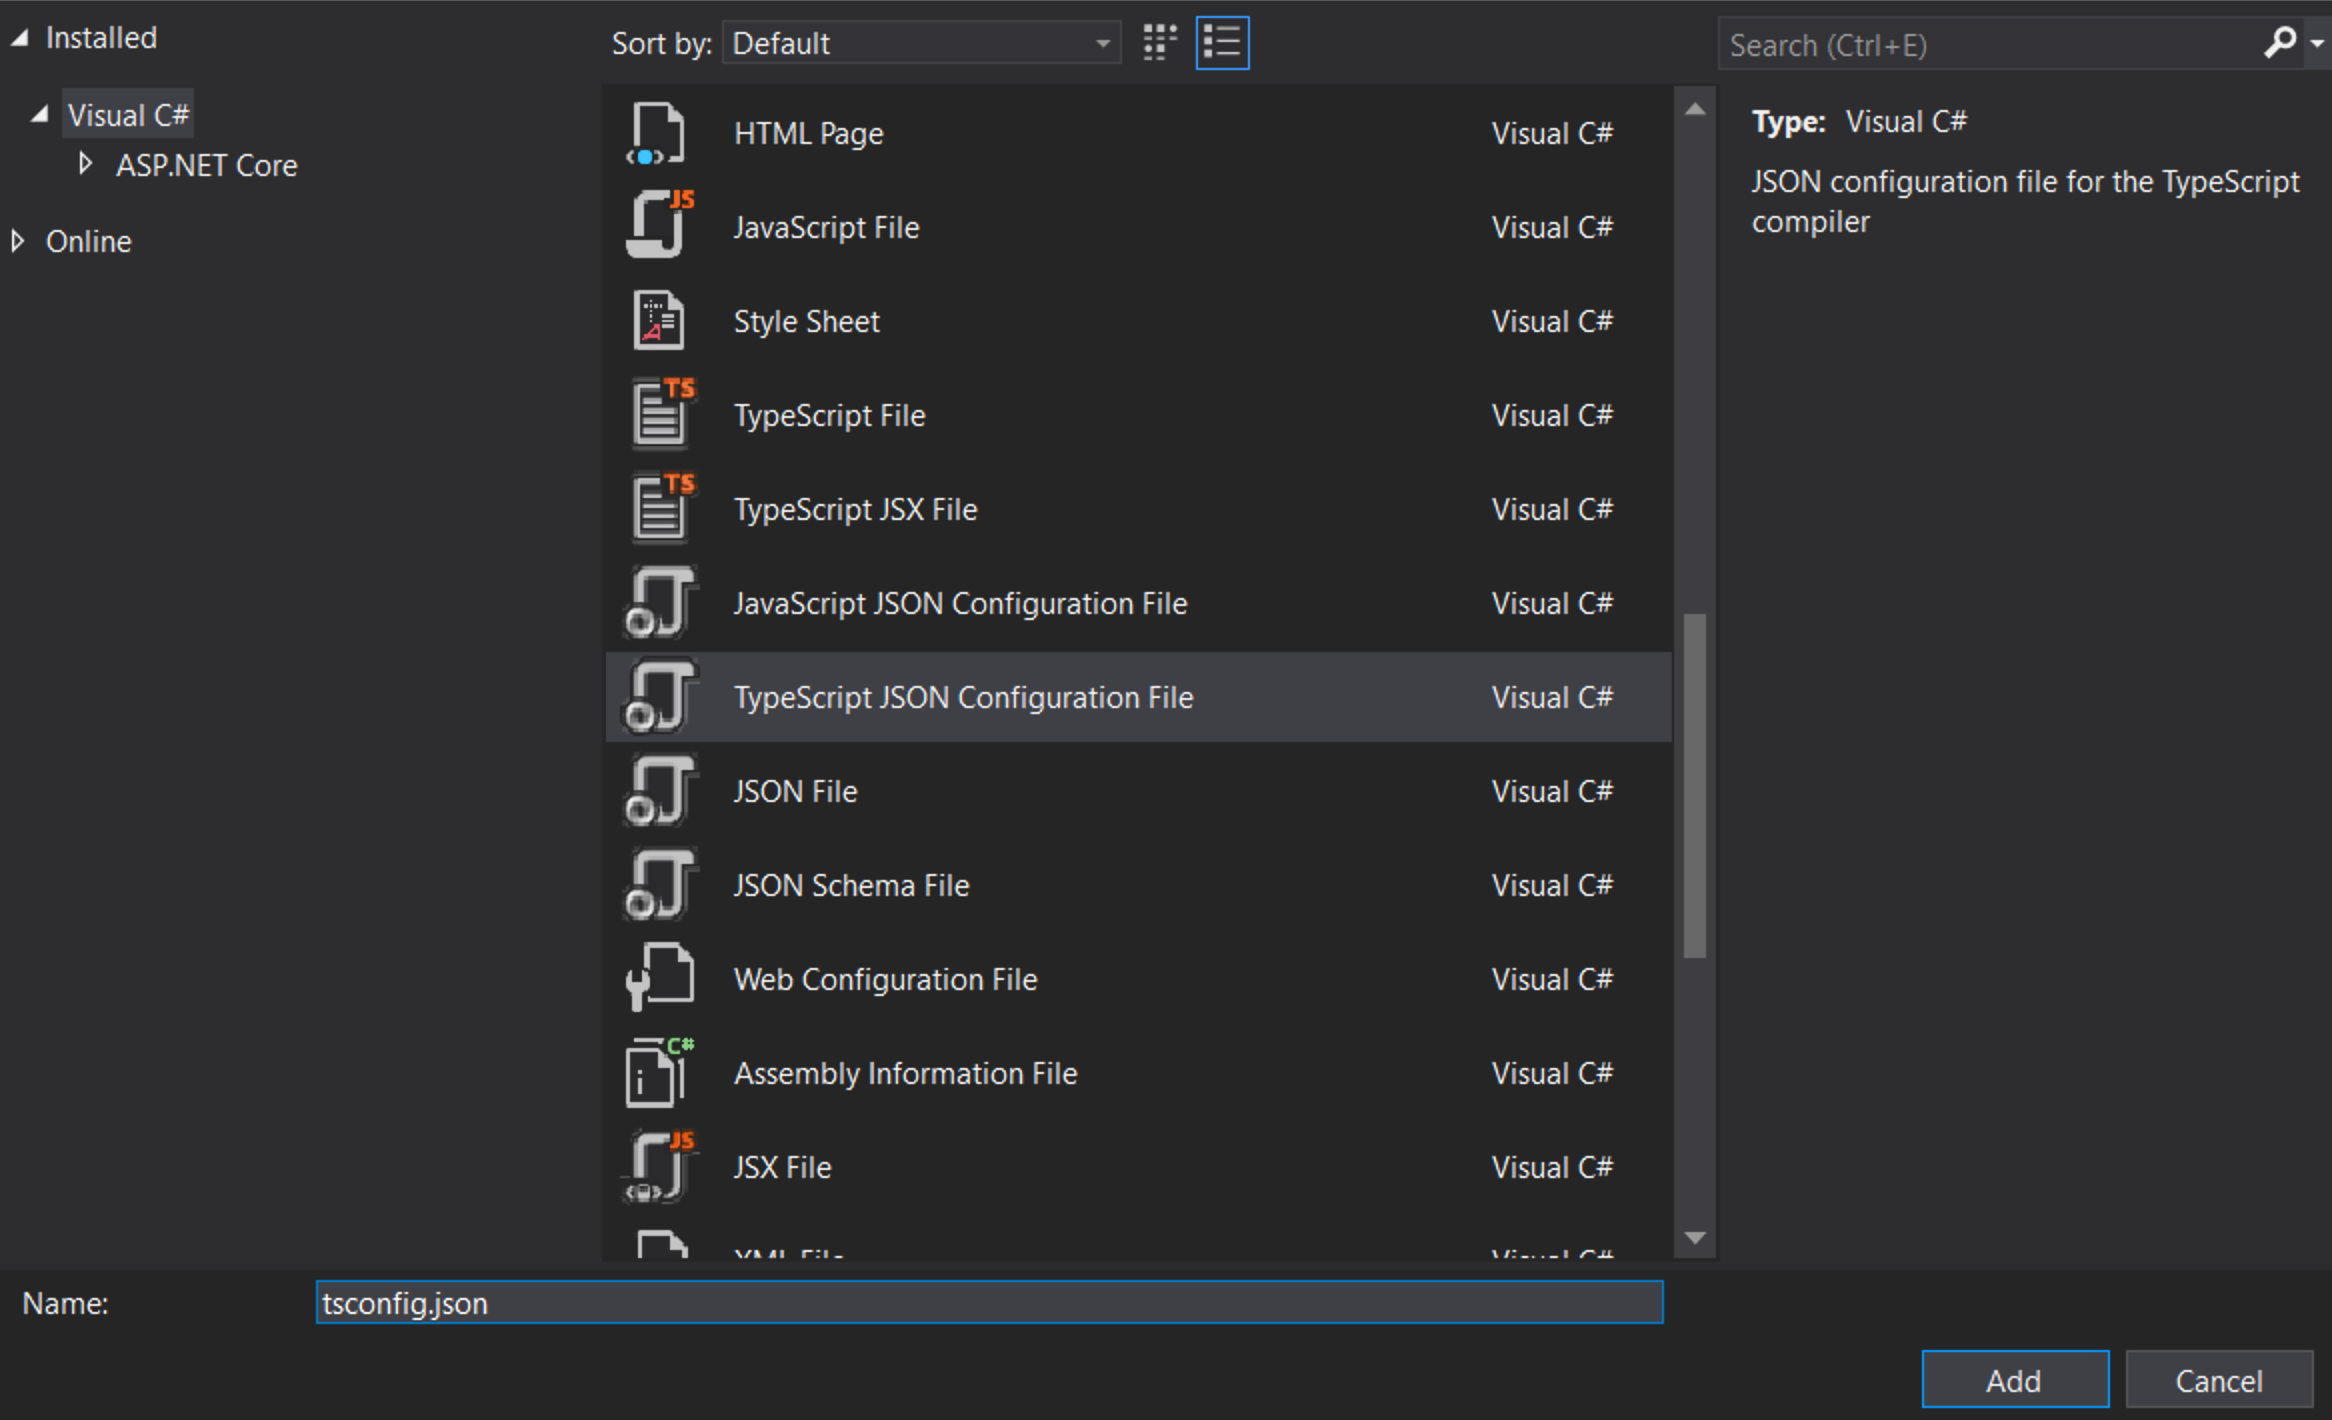
首先,我們需要告訴 TypeScript 如何組建。在 scripts 上按一下右鍵,然後按一下新增項目。接著選擇TypeScript 組態檔,並使用預設名稱 tsconfig.json
將 tsconfig.json 檔案的內容替換為
noEmitOnError:如果報告任何錯誤,請勿發出輸出。noImplicitAny:對具有隱含any類型的表達式和宣告引發錯誤。sourceMap:產生對應的.map檔案。target:指定 ECMAScript 目標版本。
注意:"ESNext" 目標最新支援
noImplicitAny 在撰寫新程式碼時是個好主意 — 您可以確保不會錯誤地撰寫任何未輸入的程式碼。 "compileOnSave" 可以輕鬆地在執行中的 Web 應用程式中更新您的程式碼。
設定 NPM
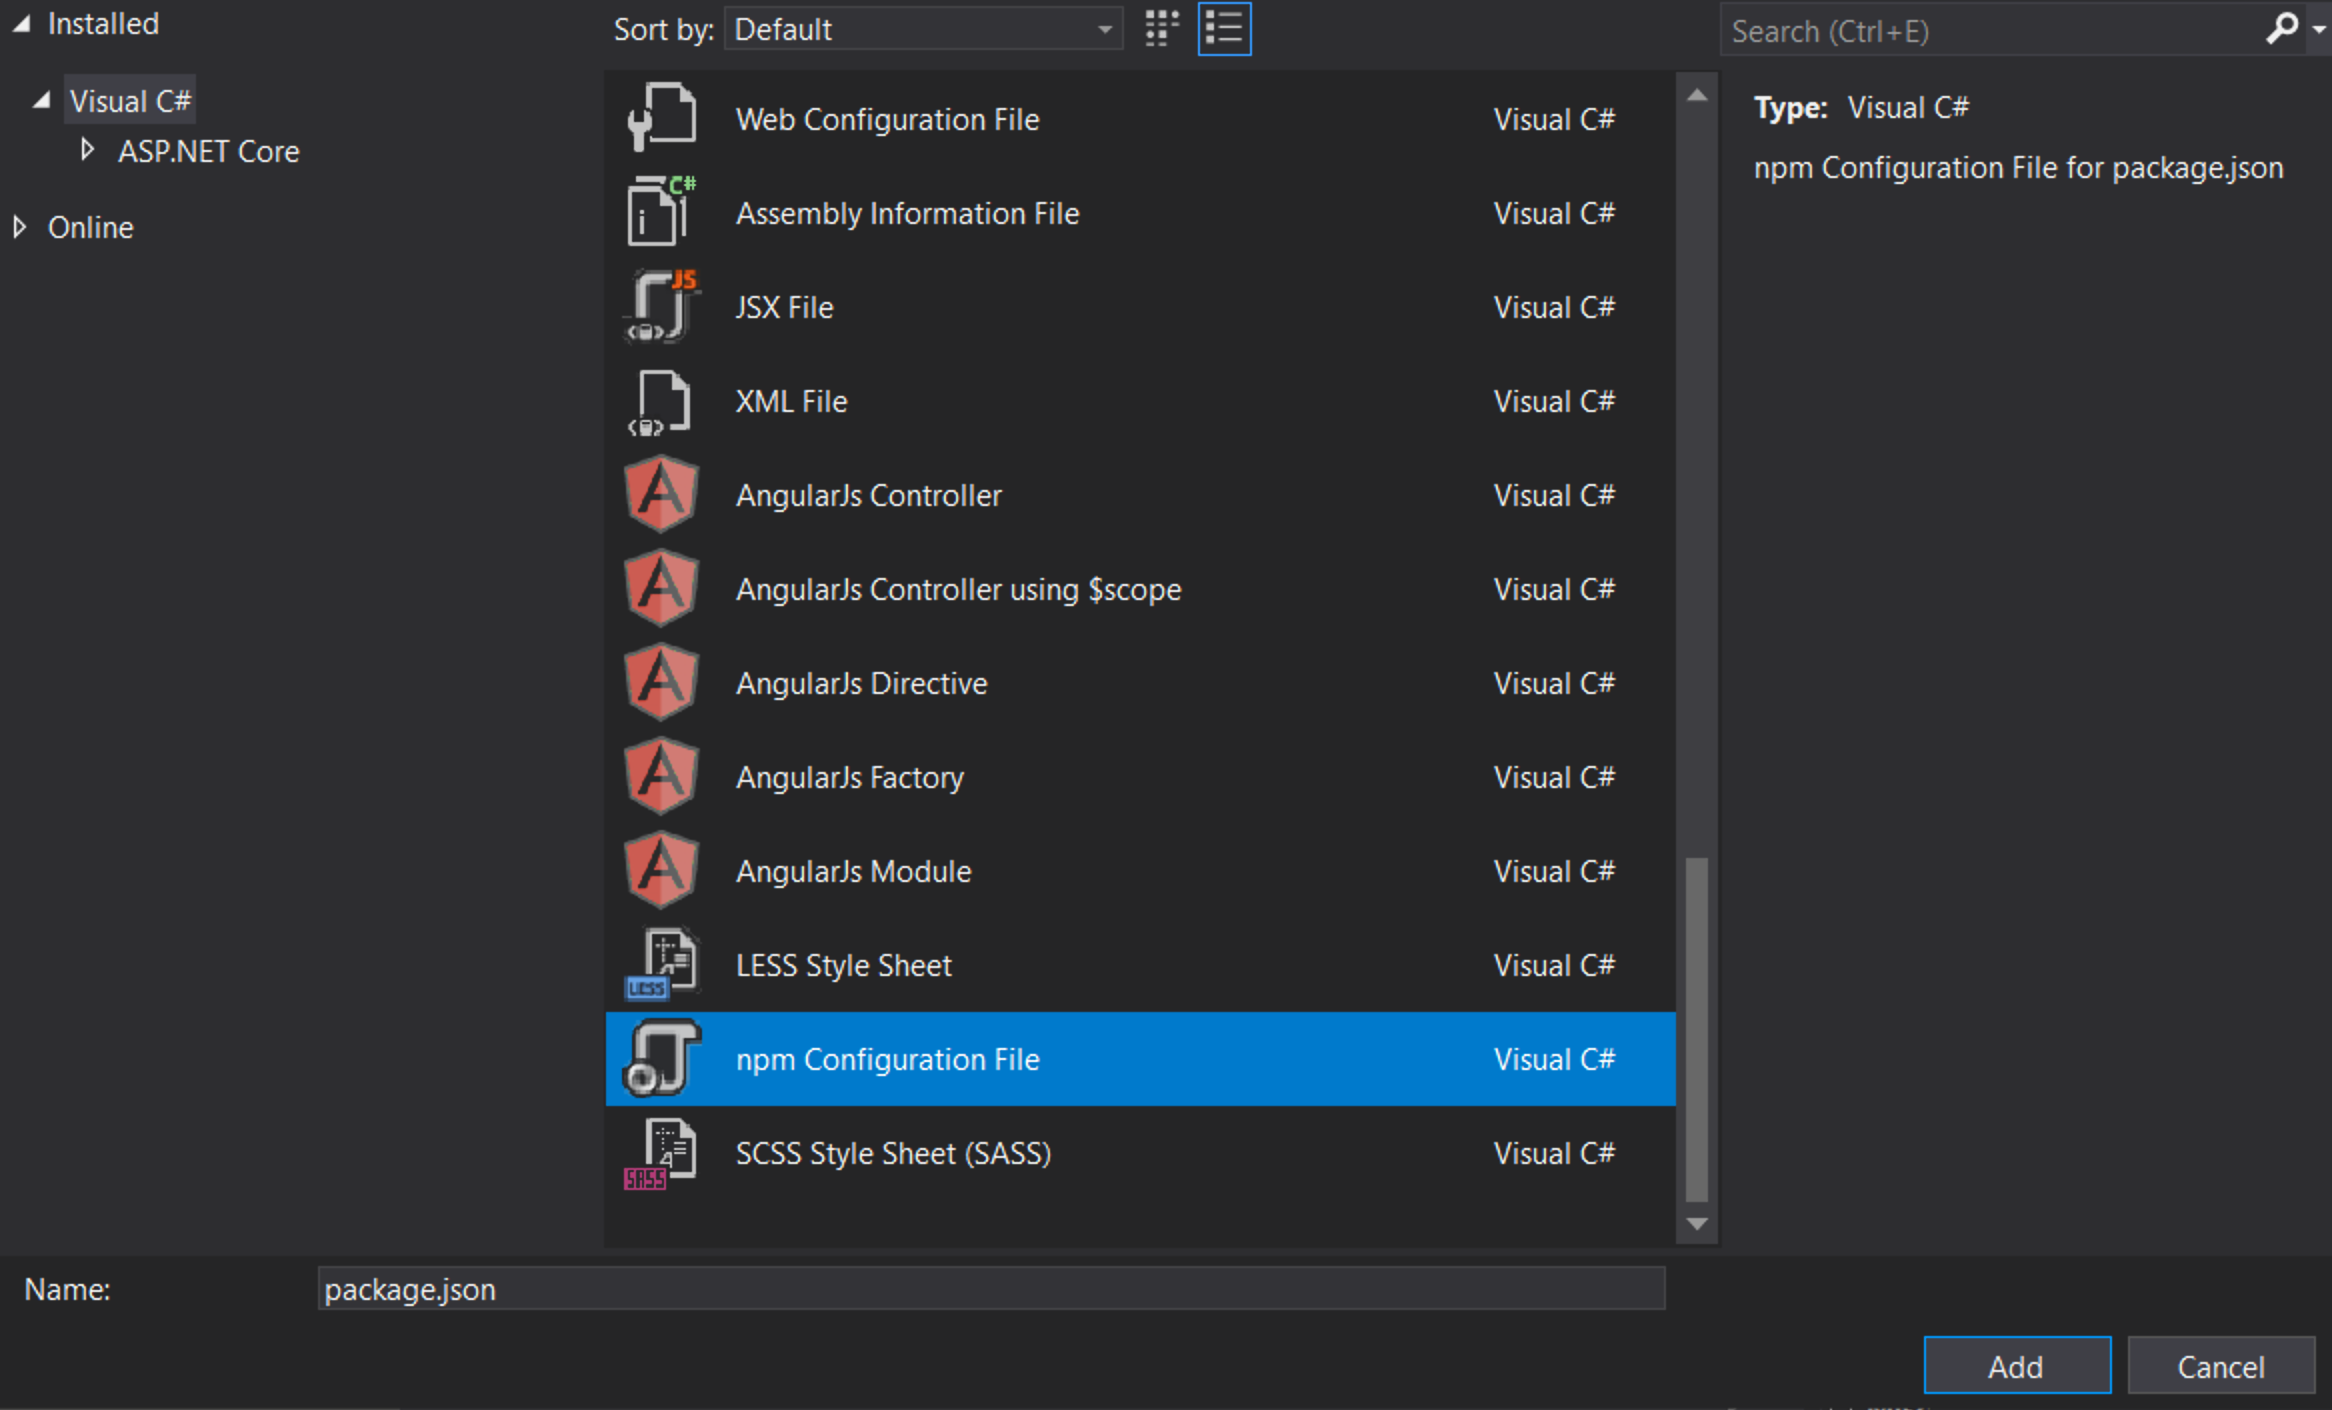
我們需要設定 NPM,以便可以下載 JavaScript 套件。右鍵按一下專案並選取新增項目。然後選取NPM 組態檔並使用 package.json 的預設名稱。
在 package.json 檔案的 "devDependencies" 區段中,新增 gulp 和 del
儲存檔案後,Visual Studio 應會立即開始安裝 gulp 和 del。如果沒有,請右鍵按一下 package.json,然後 [還原套件]。
之後,您應該會在您的解決方案瀏覽器中看到一個 npm 資料夾

設定 gulp
右鍵點擊專案並點擊新增項目。然後選擇JavaScript 檔案並使用名稱 gulpfile.js
js
第一行告訴 Visual Studio 在建置完成後執行 'default' 任務。當你要求 Visual Studio 清除建置時,它也會執行 'clean' 任務。
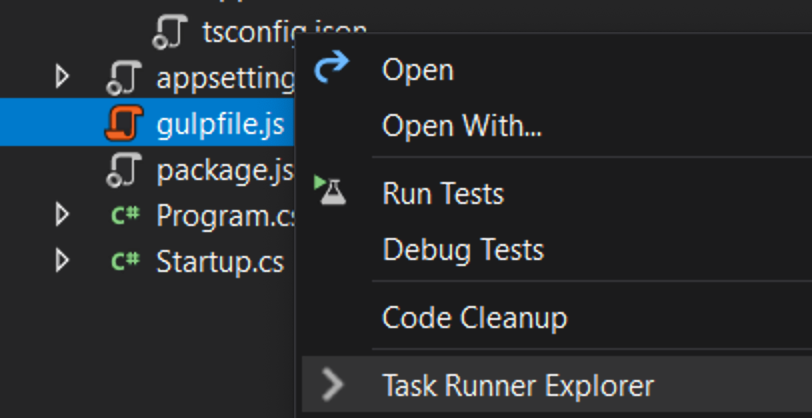
現在右鍵點擊 gulpfile.js 並點擊任務執行器瀏覽器。
如果 'default' 和 'clean' 任務沒有顯示,請重新整理瀏覽器

撰寫 HTML 頁面
右鍵點擊 wwwroot 資料夾(如果你沒有看到資料夾,請嘗試建置專案)並在其中新增一個名為 index.html 的新項目。對 index.html 使用下列程式碼
測試
- 執行專案
- 在方塊中輸入時,您應該會看到訊息出現/變更!
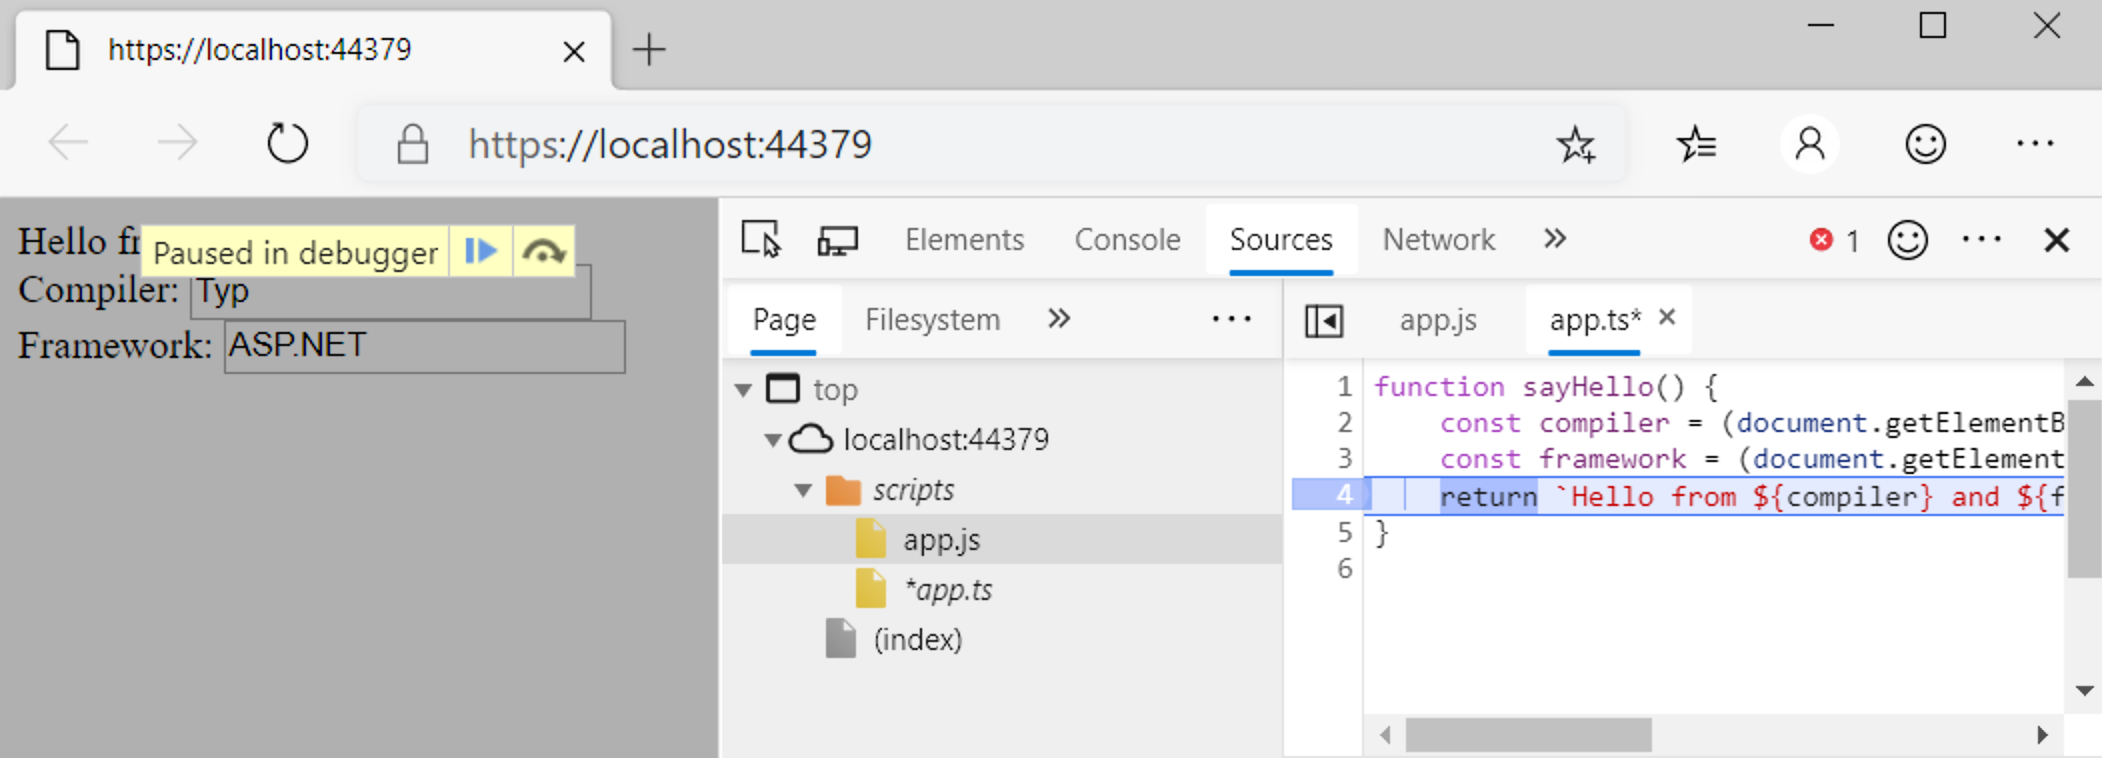
偵錯
- 在 Edge 中,按 F12 並按一下 [偵錯程式] 標籤。
- 查看第一個 localhost 資料夾,然後查看 scripts/app.ts
- 在有 return 的行上設定中斷點。
- 在方塊中輸入並確認中斷點會在 TypeScript 程式碼中觸發,而且檢查運作正常。
恭喜您已建立自己的 .NET Core 專案,並搭配 TypeScript 前端。


